For a long time there was no DIY tutorial at whaelse.com. We are in the process of reviving the old categories and now we want to start with a tutorial on fashion. This topic is our favorite.
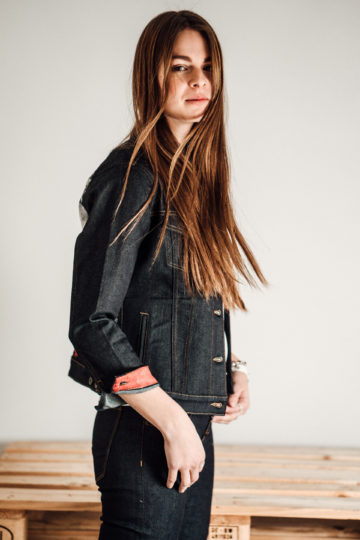
For this special occasion we alienated a jacket and a pair of trousers from Cross Jeans. Both pieces are part of the new RAW STRETCH by Cross Jeans collection. And there is something special about it: they do offer the look and feel of real raw denim, but they are way more comfortable. The jeans offer optimal freedom of movement and are very comfortable. We also have been told that all the products in the collection are antibacterial.
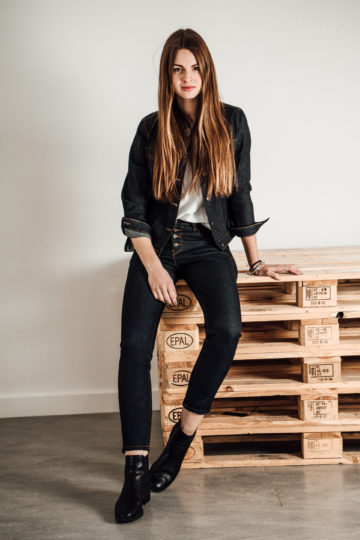

We decided to use these two pieces of the new Cross Jeans collection for two reasons: first of all raw denim is characterized by getting individualisd by its wearer. After a certain time wrinkles and abrasions become visible. So why not adding some more individuality to the raw denim pieces? Another reason we decided to use them for our DIY project are the simple design as well as the typical raw denim color, because they are ideal conditions for us. To match these typical blue jeans we have considered a color scheme: white as the base color, black as a contrasting color and red as an accent. We needed textile paint and a textile marker. If you also have a nice denim clothing, then this could be a nice project for you as well.
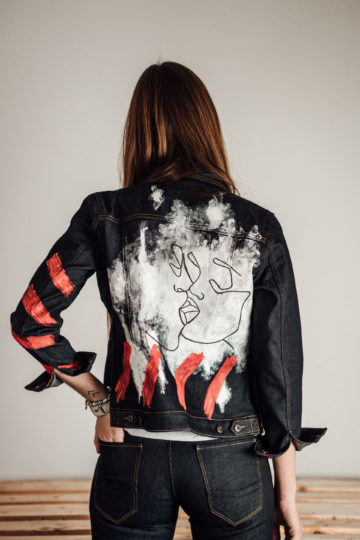
DENIM DIY: the jacket
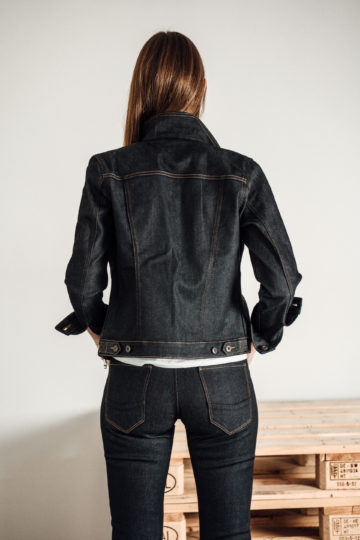
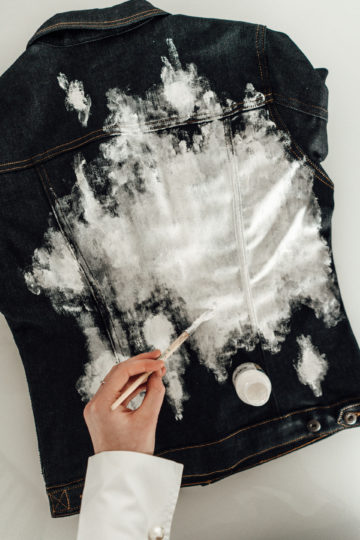
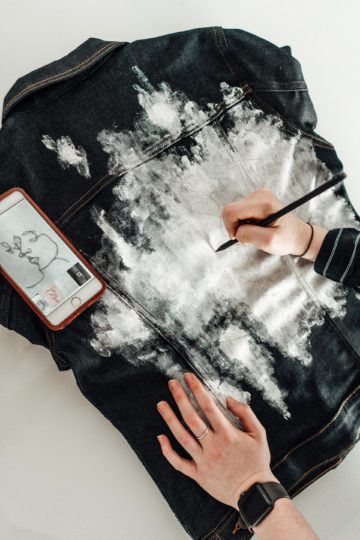
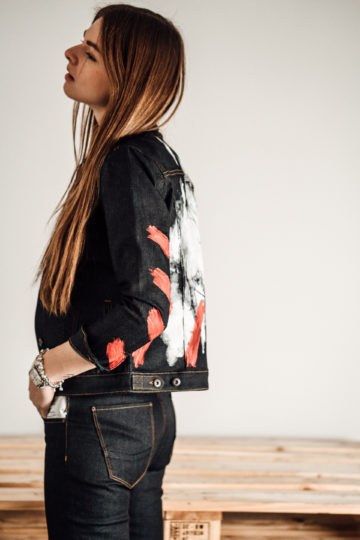
The back of the jacket is immediately given a white color. The color is applied frayed, which should promote a trashy look and makes the jacket an absolute street style piece. It is important that the color is not transparent, but very thick. The seams need special treatment: we have massaged the color into the seams, so that they get filled well. The paint must be put aside one day for drying.
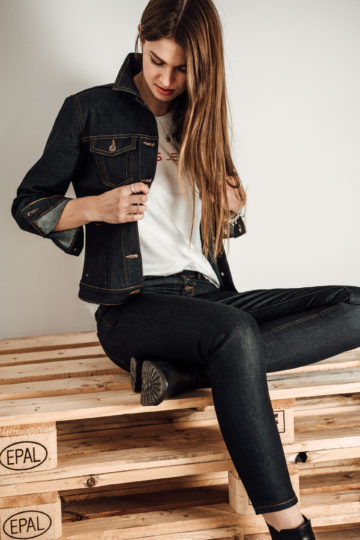
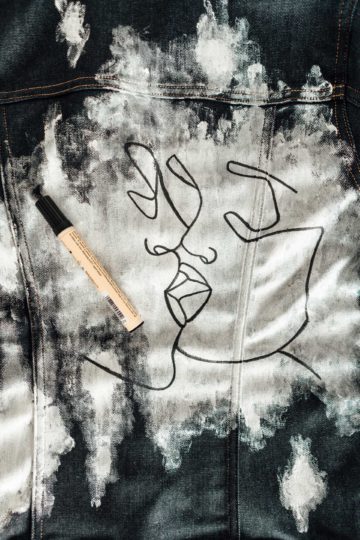
After the color is firm and has spread well in the fibers of the jeans, the next layer should be applied. For the execution we decided for modern Onelineart. The motive was inspired by a famous tattoo. Do you like the motive?
Working with the marker is easy. The tip draws like an ordinary felt-tip pen. It’s just important that the paint does not smudge. From time to time we have been able to stop drawing, although it is a Oneliner. We just started on the old line again. 🙂
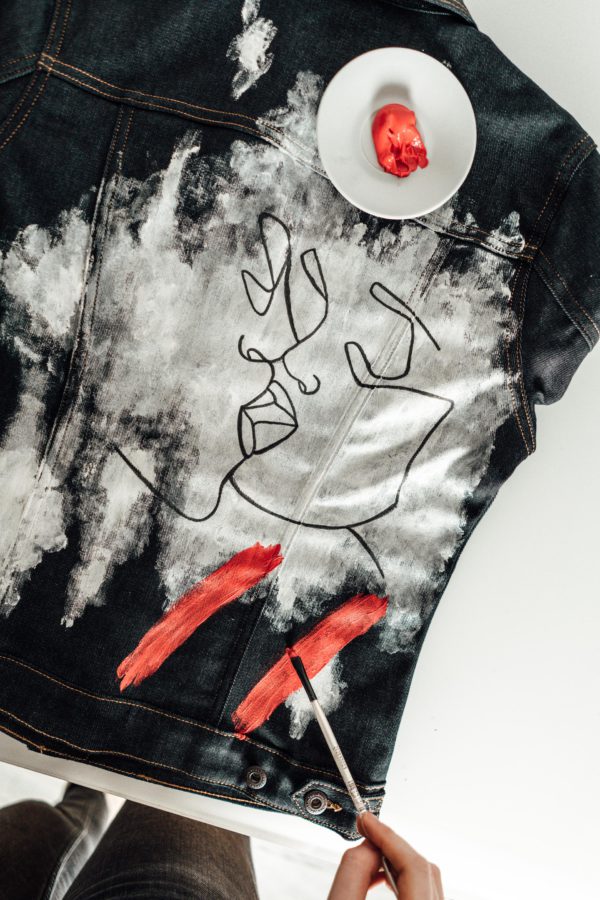
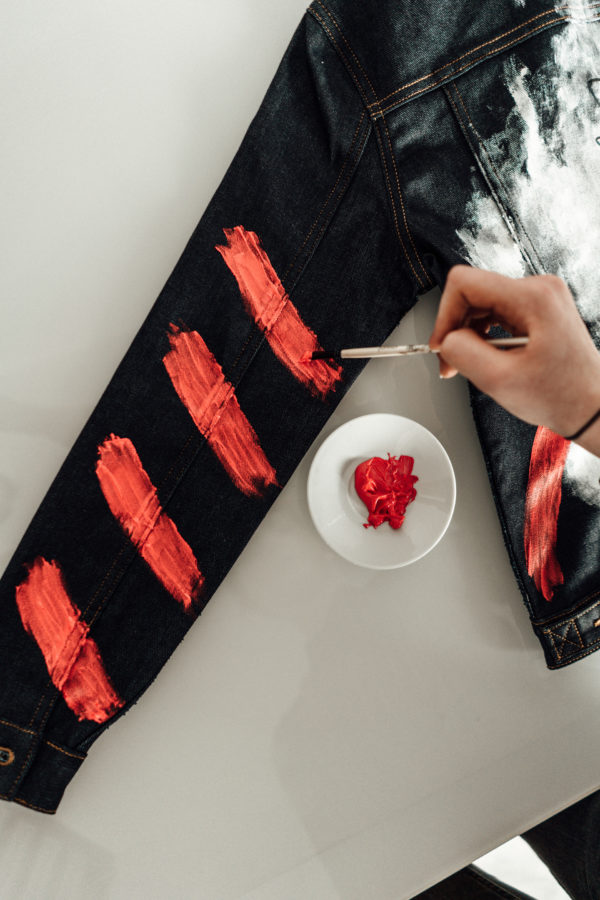
As the marker dries, the next layer is applied: the red accent color. This one is smeared similar like the white color. To pick up the red color, the insides of the sleeve cuff is painted as well. In addition, the opposite sleeve is painted with the same elements in red as on the back of the jacket. Now the jacket is finished.
DENIM DIY: the jeans
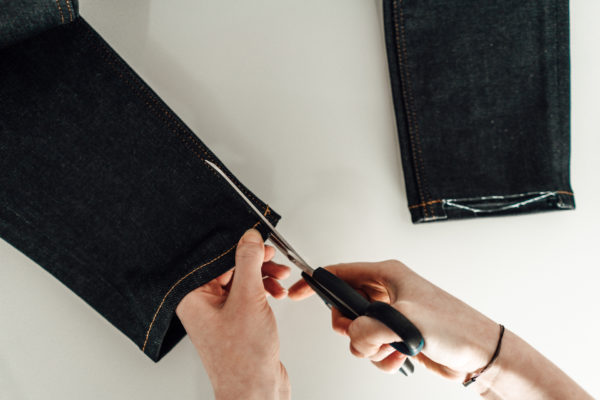
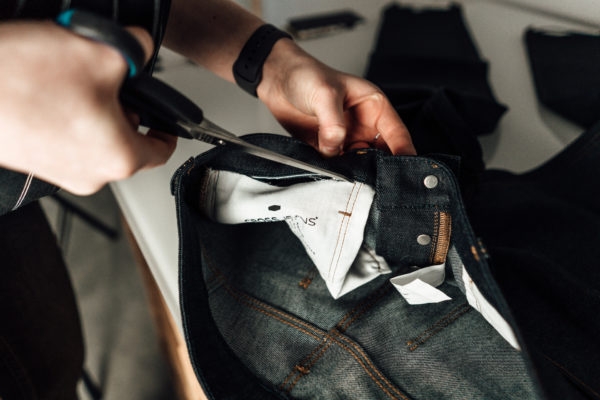
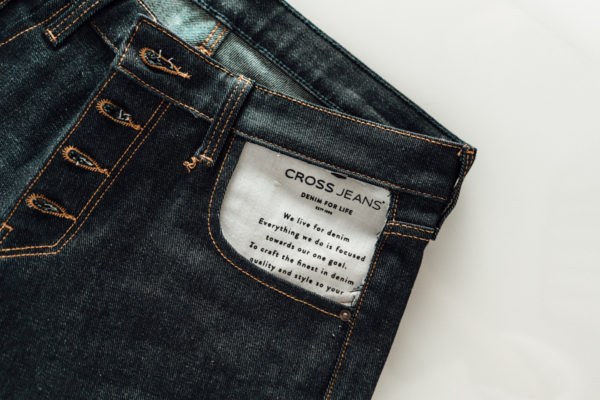
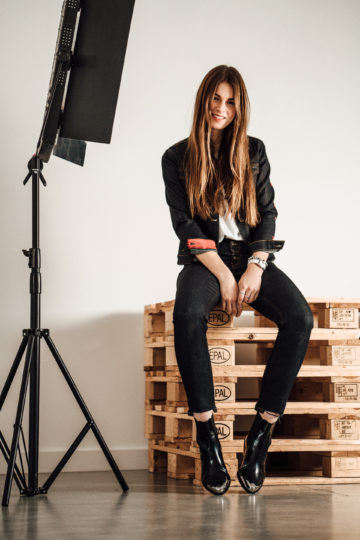
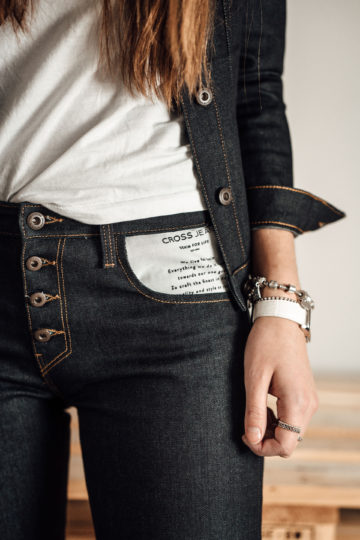
The pants have an incredibly comfortable fit. It is not as rigid as we thought. The fit is ideal, we didn’t want to distract from it. For our DIY, the hem is worked on by separating the seam in the front leg area. In addition, the bag is cut out of the pants. The jeans we worked on had a print with text in the pocket bag. This fit very well into our concept, so we turned the bag over and with some targeted stitches back to the pants.
Maybe our DIY inspires you to create your own project. Every clothing tells its own story. And if you have any questions about the DIY we just shared, don’t hesitate to leave us a comment and ask. We would love to help you with your own DIY.

Comments
Hellfire
Denim jeans are comfortable fit.I love to wear it with skirts and tops.It's a perfect combination of summer and spring.
Jessica Watson
Denim jacket also available in the market. I don't know about that, Actually am a huge fan of denim jeans. thanks for sharing the denim jacket.. thanks a lot.